14 KiB
JS in HTML & DOM
Linking JS to HTML
Motivation
During this course, we'll mostly focus on front-end development with React
However, it helps to understand some of the basics on how to interact with web pages using pure JavaScript
We won't dive deep into making complex websites with pure JavaScript without a framework, but we'll glance at some of the basics
- Javascript in an HTML file is written within the
</html>
Exercise 1: HTML + JS hello world
Add some functionality to your HTML page.
Create a function that prints "hello world" . Call this function in your script!
Events
- Creating a function and then running it when loading the page doesn't really add _interactivity _ to a website
- Luckily, JavaScript functions can be bound to various events
- The fastest way: define the function inside the
JS has quite large amounts of built in events for different kind of user interactions.
A list of these can be found in:
https://developer.mozilla.org/en-US/docs/Web/Events
and
https://www.w3schools.com/jsref/dom_obj_event.asp
Forms and JS example
Login
const loginForm = document.querySelector("#login");
loginForm.addEventListener("submit", (e) => {
e.preventDefault();
const username = document.querySelector("#username");
const password = document.querySelector("#password");
console.log("username: ", username.value);
console.log("password: ", password.value);
});
Event listener fires when form is submitted. The script selects username and password inputs and logs the values
Exercise 2: Counter
Add a button to your page. Add an event handler function to the button that uses the window.alert method to tell the user how many times they've clicked on the button so far.
See https://developer.mozilla.org/en-US/docs/Web/API/Window/alert
For example, on first press the user should see a message box saying "Clicked 1 time(s)", on second press it should say "Clicked 2 time(s)", and so on.
Note: _ _ In real life, avoid using window.alert as it's generally not great for the user experience. Here it's fine for educational purposes.
Exercise 3: Color change click!
Create an HTML element whose color changes when it's clicked.
First, use the fast "onclick" version
Then, convert it into using addEventListener
_Extra: _ Change the color of another element, not the one that was clicked!
_Extra 2: _ Change the color into a new random color every time the button is clicked!
Strict mode
- Strict mode was introduced in ES5
- Strict mode makes a few changes to normal JS semantics
- Prohibits some JS syntax
- Creates error logs for silent JS errors (that do not show up in the console)
- Allows optimization of JS code
- Strict mode is on automatically when using JavaScript modules i.e. using import and export
Converting your JS files to strict mode
- Make the first line of your code 'use strict'
- It prevents you from creating code that is considered bad practice:
- Declaring variable without a keyword (let, const, (or var))
- Using the "with" statement (we won't get into that, don't use it)
- Using "delete" on a variable
- Declaring functions in blocks:
- and so on…
- https://developer.mozilla.org/en-US/docs/Web/JavaScript/Reference/Strict_mode
if (q===w) function f() {}
Window
window is an object that contains a set of default variables and functions that you can use within a browser
window.alert(), window.document, window.console.log(), window....
As you can see, most of these functions look familiar. That's because you can access them also without window.
In some sense, window keyword is just a list of global variables and functions.
Be careful with window!
Basically...
window.console.log("asd") --> console.log("asd")
window.alert("asd") --> alert("asd")
If you give a variable or function a name that is already used within the "window" object by default, that variable/function gets overwritten!
Separating scripts
Separating JS from HTML completely
Instead of including JS in the HTML file, we can separate it to another .js file
Then, we can refer to the new JS file in our HTML file:
There can be more than one of these links, e.g.,
Note that the order of the script links matters!
Multiple js files
- If we have multiple JS files, loading the page can get visibly slower
- Adding a defer="defer" argument enables files to be _loaded as resources get freed (=faster!)
- Still, the files will get executed in the correct order!
- About file order: load more general stuff first, and the most specialized stuff last.
- It's also clearer if you make function calls in the last script only , and only __declare __ stuff in the earlier scripts.
Extra: Executing JS on page load
To execute script when the page loads, you can do this:
In your script.js file, you can define a function called, say, load()
then set it as a value of window.onload
function load() {
console.log("page loaded!");
}
window.onload = load;
Exercise 4: Greeting the user
Separate your scripts into script files and link them to your main page.
Create a new file user.js
Into the new file, add a function that changes text on the page to a personified greeting "Welcome, [username]!
Run the function when the page is loaded.
Run the function again when the user submits a new username with a form!
Dynamic CSS
More about CSS classes
HTML elements can have multiple class attributes separated with a spaceSubmitCancel
Applies to both buttons
.btn {
border: none,
}
Applies to __ __ .btn-red
.btn-red {
background-color: red;
}
__Applies to __ .btn-blue
.btn-blue {
background-color: blue;
}
ClassList
In JS, classes can be added and removed dynamically with classlist (array-like object):
const button = document.querySelector(".btn-red");
button.classList.add("btn-blue");
button.classList.remove("btn-red");
Or toggled :const anotherButton = document.querySelector("#another-btn");button.classList.toggle("btn-blue");
Changing the element style
We can change the style of an element by using its style property.
First we get the element:
const someEl = document.getElementById('someEl');
Then we can change the element's style:
someEl.style['font-weight'] = 'bold';
or
someEl.style.fontWeight = 'bold';
CSS visibility vs display
We can change an element's __visibility __ by using the css "visibility" property. Basically meaning that we can either show or hide an element . Let's first store a reference to the element in someEl variable
const someEl = document.getElementById('someEl');
Notice that display removes the element and its effects from the DOM
This frees up space , but the element is still visible in the source code
__Visibility __ only hides the element from the DOM, still reserving the space for it
someEl.style.visibility="hidden"; someEl.style.display="none";
someEl.style.visibility="visible"; someEl.style.display="block";
Exercise 5: change styles on hover
Get a handle to the three different sections on your page and make them change color to yellow when you hover your mouse over them
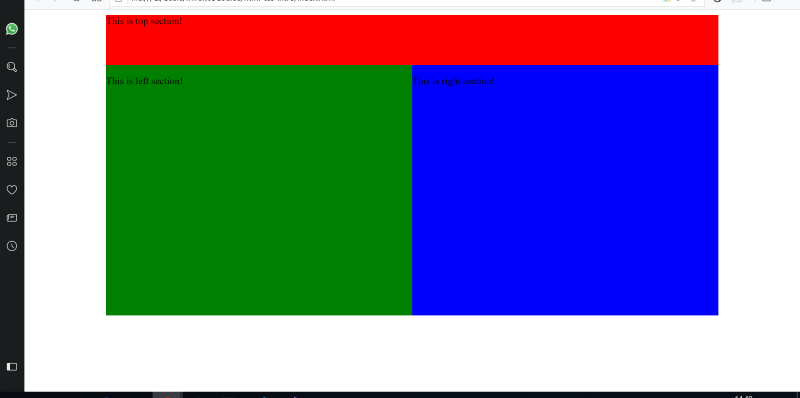
Solutions: Solutions: https://buuttilab.com/bctjs/week3-html-css-js-dom/-/tree/master/lecture-exercise-solutions/hover
Dynamic HTML
Inserting HTML using JS
JavaScript allows us to create HTML by saving HTML as a string
let someHtml = "
";Hello there
document.getElementById("someElementId").innerHTML = someHtml;
More often than not, we want to use template literals instead of quotations, since this will help us embed variables in to our HTML code
let someHtml = `
Hello there ${friend}
`;
Creating HTML elements by using JS
JS allows us to __create new HTML elements __ programmatically as well
This way of adding new HTML elements is less prone to typos than when using string literals
const pTag = document.createElement("p");
pTag.innerHTML = "I am some Html in a p tag";
document.getElementById("someDivForExample").appendChild(pTag);
OR
const text = document.createTextNode("I am text node to append");
pTag.appendChild(text);
document.getElementById("someDivForExample").appendChild(pTag);
Removing a HTML element by using JS
Similarly, we can also __remove __ an element from DOM
const post = document.getElementById("someElementWeWantToRemove");
const posts = post.parentElement;
posts.removeChild(post);
Alternatively, we can remove the n th child from a parent like this:
const posts = document.getElementById("list_of_posts");
posts.removeChild(posts.childNodes[n]);
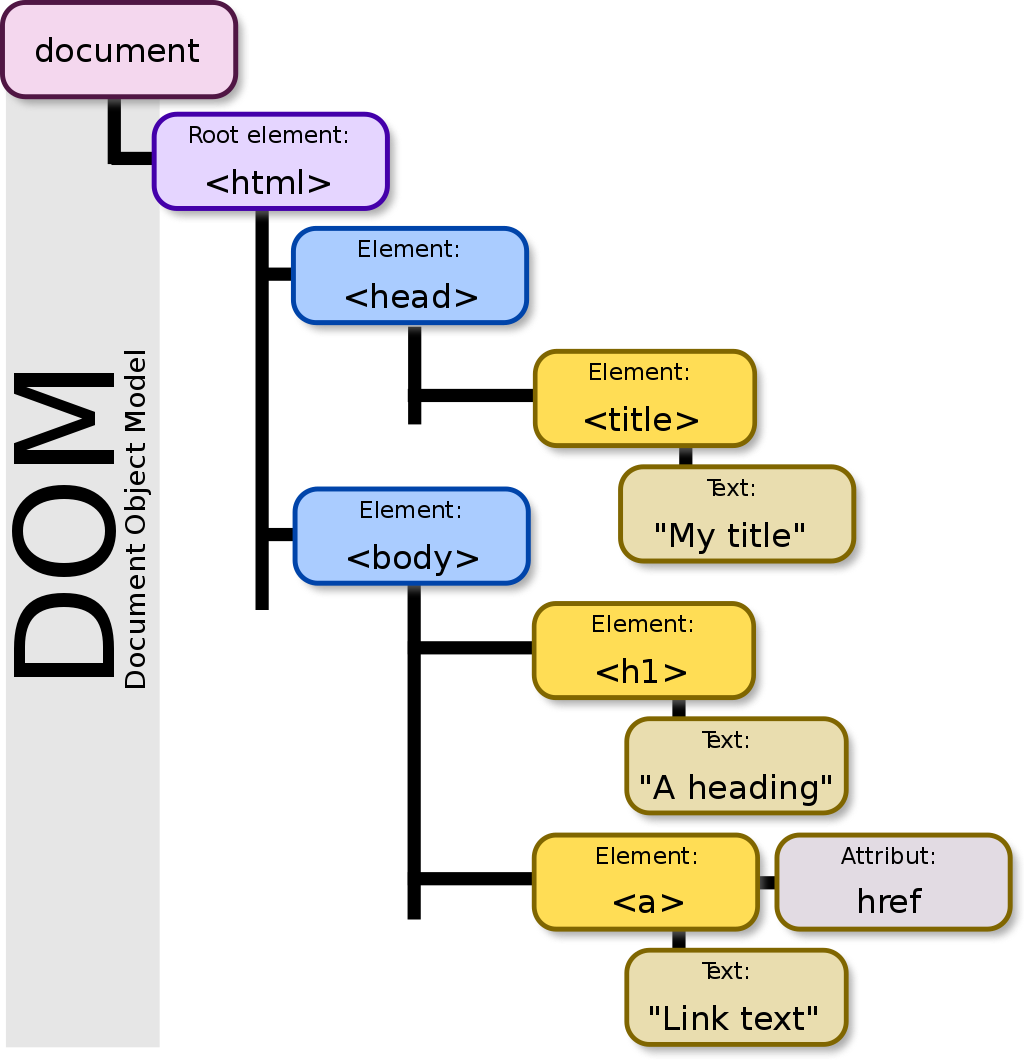
DOM
Wikimedia Commons
HTML DOM (Document Object Model) is the tree structure of the web page
it's created when the web page is opened
JS can modify all elements within the DOM
DOM elements are objects , which have a range of different methods and properties
document.getElementById("idname").innerHTML;
getElementById _() _ _ is a method , innerHTML _ _ is a property
Hint: We can access element attributes with method getAttribute()
Exercise 6: event listeners
Create a simple user interface that displays jokes. Create four buttons and event listeners for:
Displaying one random joke
Displaying one random nerdy joke (category: nerdy)
Displaying all jokes
Deleting the first joke
Jokes array can be found on Gitea .
Default joke array and solution: https://buuttilab.com/bctjs/week3-html-css-js-dom/-/blob/master/lecture-exercise-solutions/jokes/main.js
Chrome Dev Tools
- The most important tools of a modern web developer are bundled with the browser!
- Open the _ Inspect _ menu with
- F12 or CTRL+SHIFT+I
- right-click the webpage and click Inspect
- Inspect has multiple tabs
- Most used ones: _ _
- Console , Network , Application , Elements, Toggle.

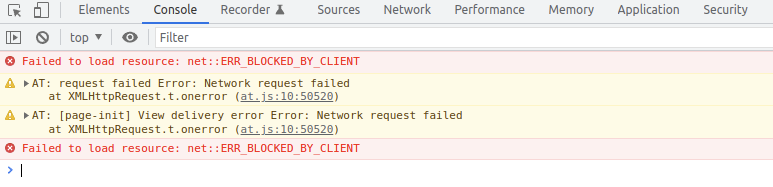
Console
_Browser has its own _ Console
one of the most important tools for a front-end developer
e.g., app's error messages, console.logs and failed requests are printed here
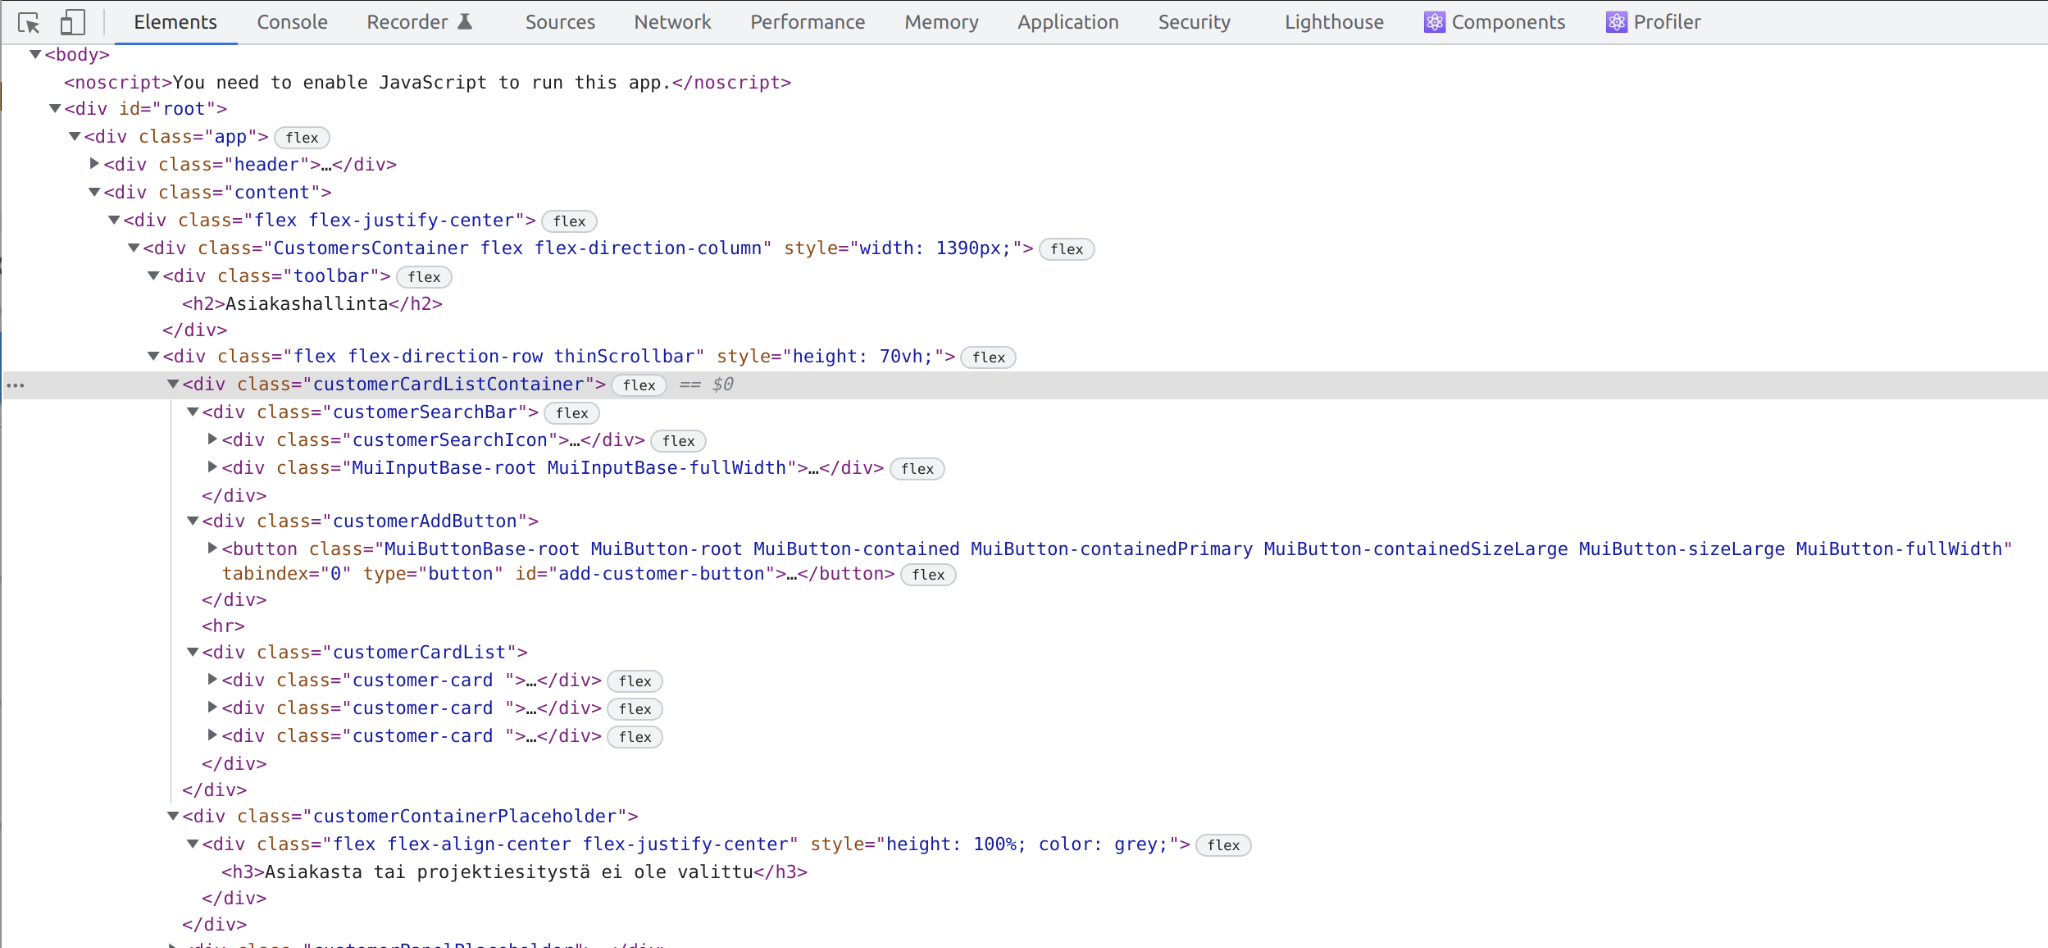
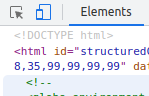
- In Elements you can browse and edit the HTML structure of the webpage
- easily demonstrate different styles in the browser
- move the edits into code editor
- The internal structure of ready-made UI components get exposed here
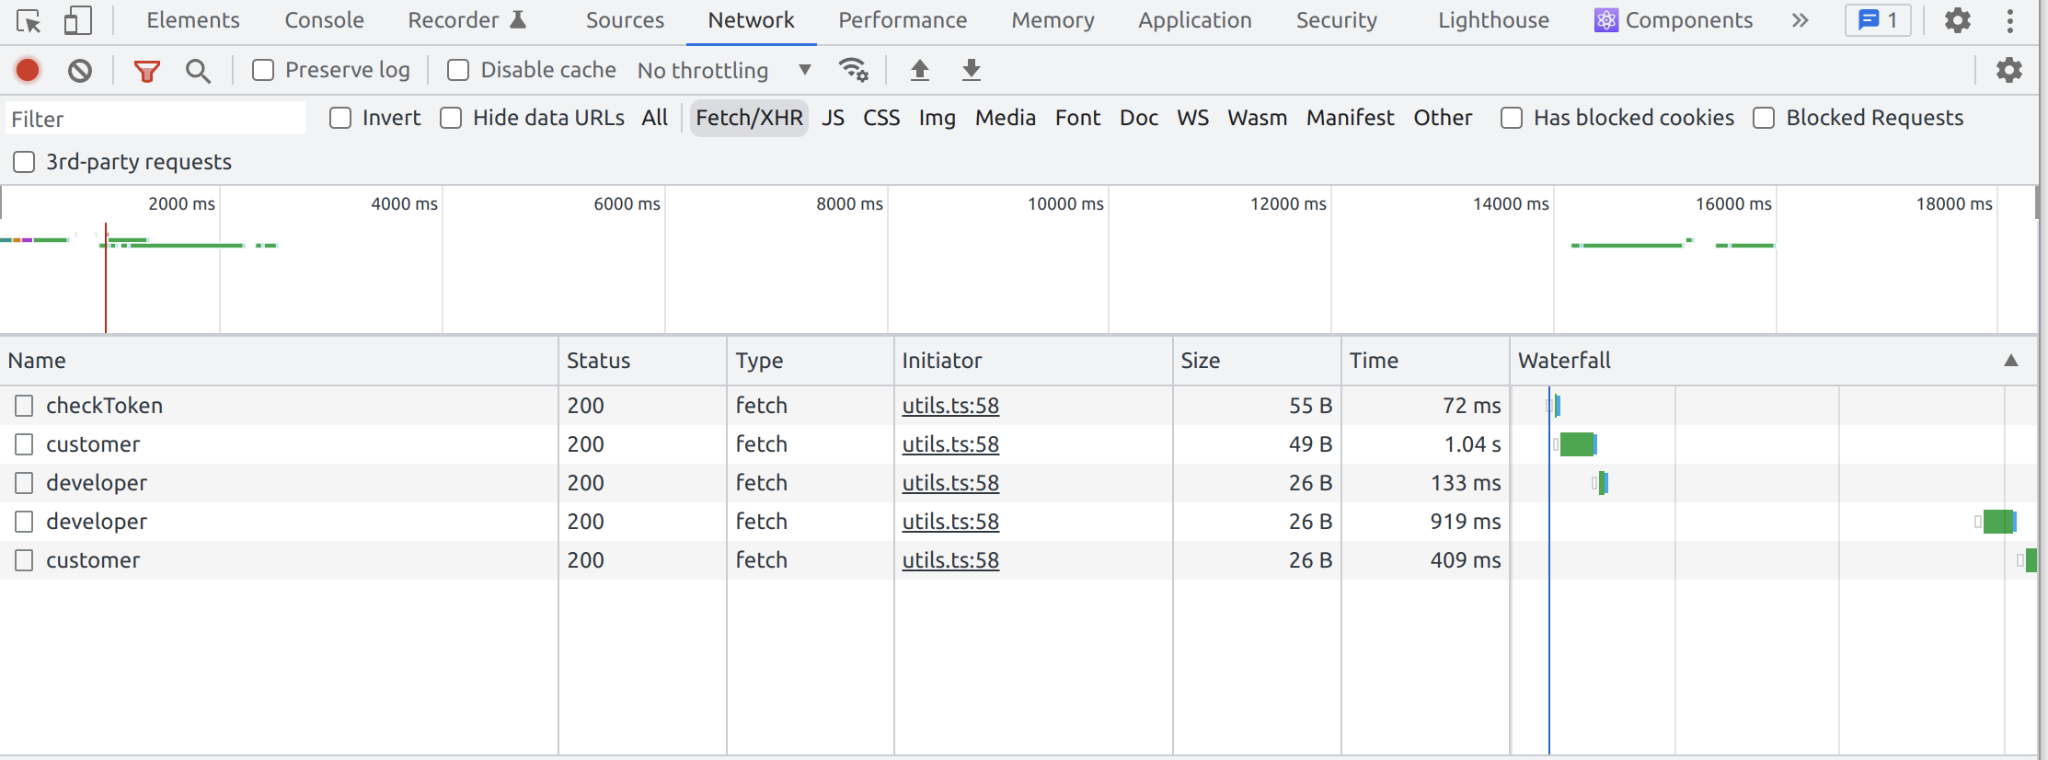
- Network exposes the data traffic (HTTP!)
- the requests the page is sending to the server, and their responses
- Helps e.g., in the optimization of page load time
- You can see which elements load slower!
- you can check Disable cache to make debugging easier (no previous data influences the current state of the web app!)
- check Preserve log to keep the console log intact when the page is reloaded
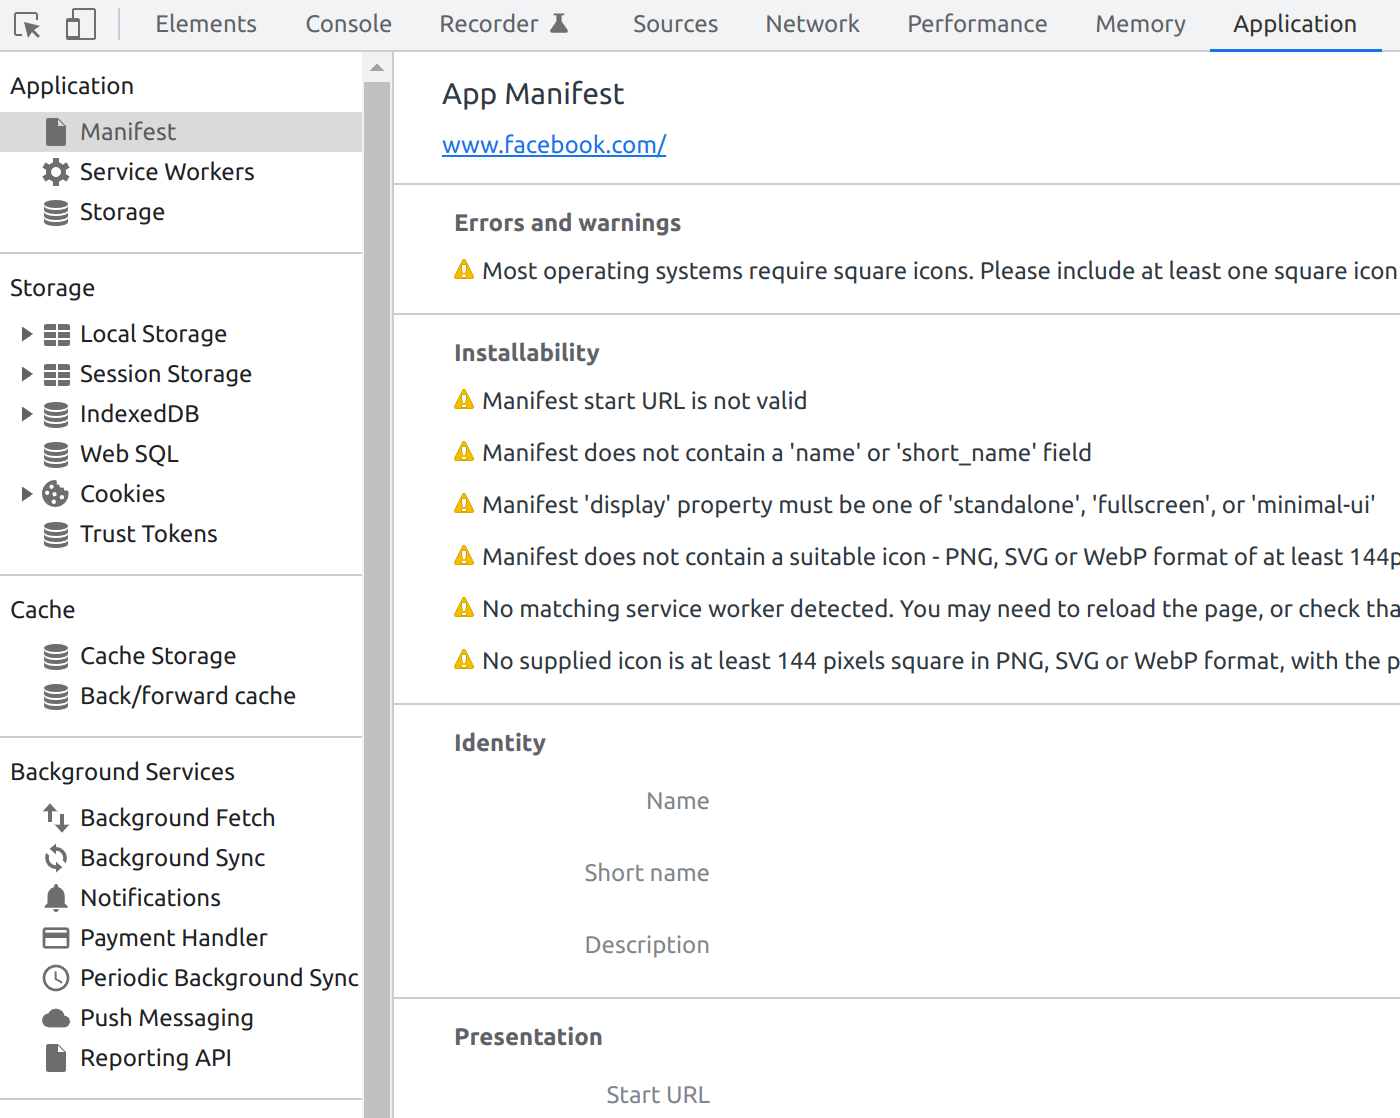
In _ Application _ you can track and manage e.g.,
Local Storage
cookies
tokens
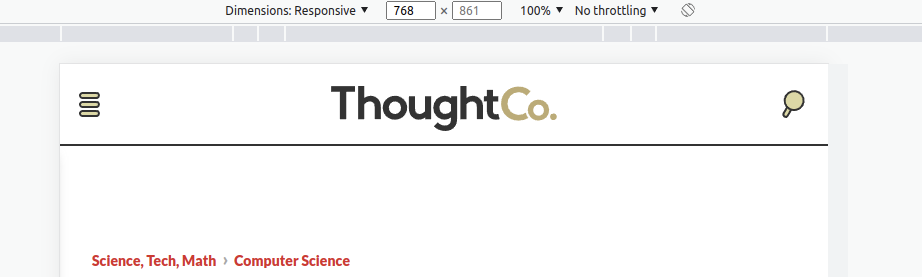
Toggle
- Toggle is used for designing responsiveness of webpages
- How would the page look on…
- different resolutions
- phones, tablets, etc…
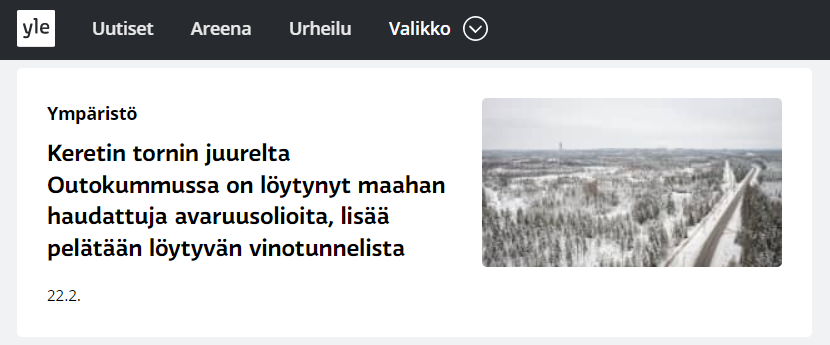
Exercise 7: Let's mess around
Go to some random news page and change a headline into something silly with the Dev tools. (It's surprisingly easy!)
Assignments
- Creating a function and then running it when loading the page doesn't really add _interactivity _ to a website