10 KiB
ASP.NET Basics
ASP.NET Core
- __ASP.NET Core __ is
- a framework for building internet connected applications, like
- Web apps
- Web APIs
- Backend for desktop & mobile apps
- rebuilt from ground up, NOT an update for the old ASP.NET
- open source, cross platform
- ASP .NET Core supports the use of NuGet packages , which can be added to your projects modularly
- In this course, we will be focusing on web APIs and won't be covering the front end development tools of ASP.NET
APIs are interfaces that applicaitons use to communicate with each other Xamarin for mobile Use of NuGet packages add modularity and decrease the minimum memory footprint of your projects
ASP.NET Core (continued)
- Full support for C#
- Base Class Library
- Great community support
- StackOverflow
- Open projects on GitHub
- Some companies have a long history with Microsoft frameworks
- ASP.NET is the logical choice in that case
- .NET is constantly getting updates and new releases
- Learning to read documentations is key
BCL includes all the things you have learned so far
Swagger & Swagger UI
Swagger/OpenAPI: Language-independent specification for describing REST APIs without needing to look at the source code
Swagger UI: Web-based UI for automatically providing information about the API (actions and their capabilities) using the specification above
The default implementation of Swagger UI in ASP.NET is called Swashbuckle
Useful for basic debugging and testing
Exercise 1: Creating an ASP.NET Core Web Application
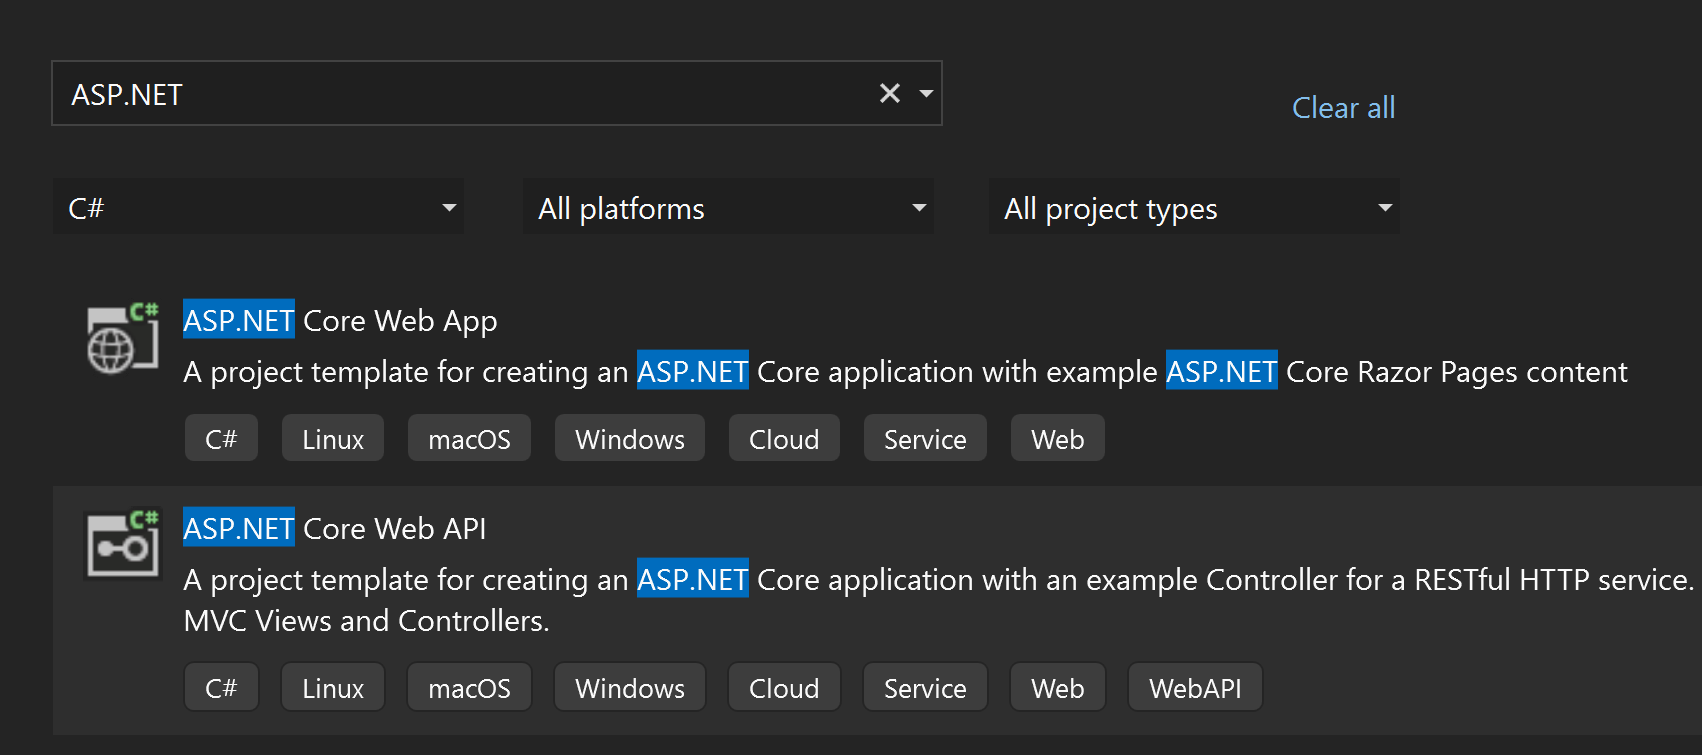
Open Visual Studio and from the right select "Create a new project"
Search for ASP.NET and select ASP.NET Core Web API

Configure for HTTPS would give the project the add secure authentication This would be for sensitive data
Creating an ASP.NET Core Web Application (continued)
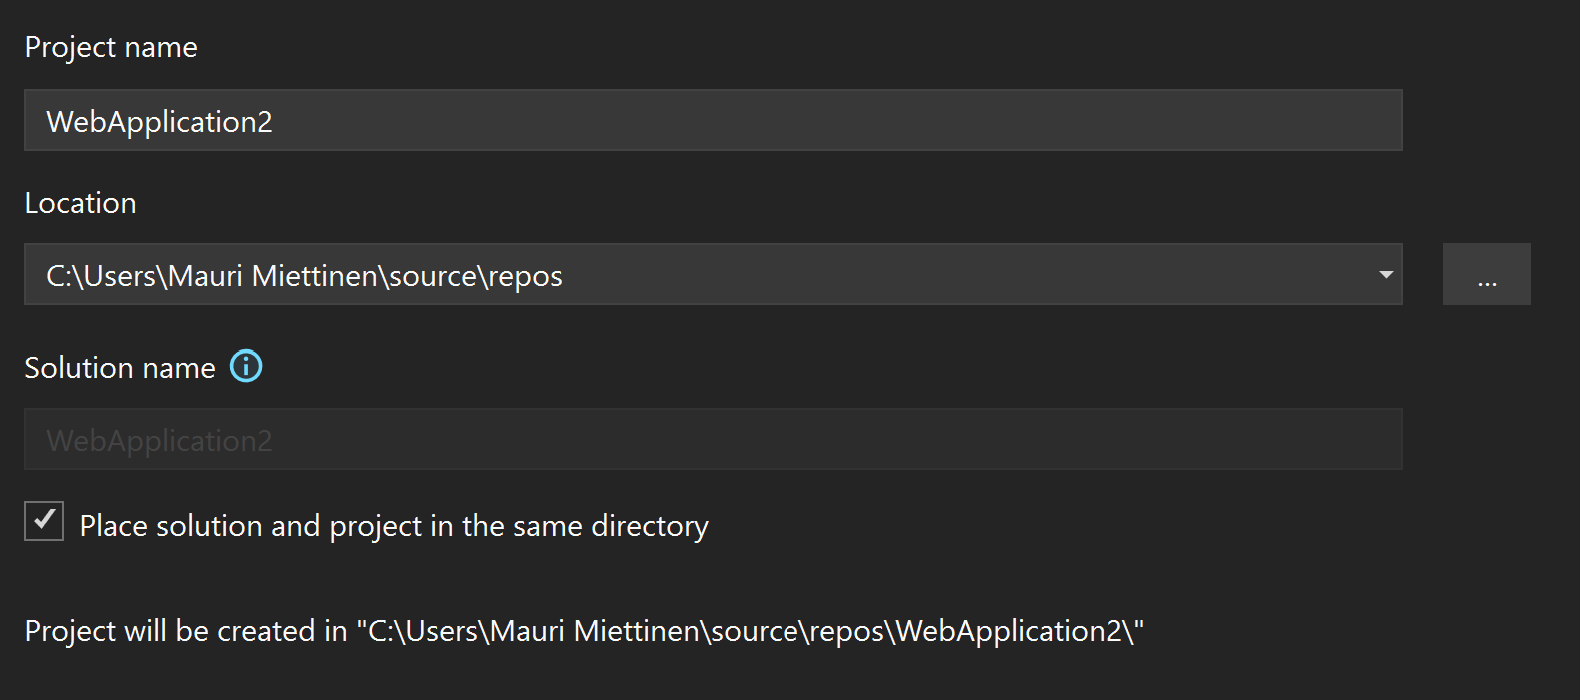
Give a name and click "Next" in the bottom right corner. Select .NET 7.0 under "Framework". Authentication type should be "None" for now. Uncheck "Configure for HTTPS" and click "Create" in the bottom right corner.
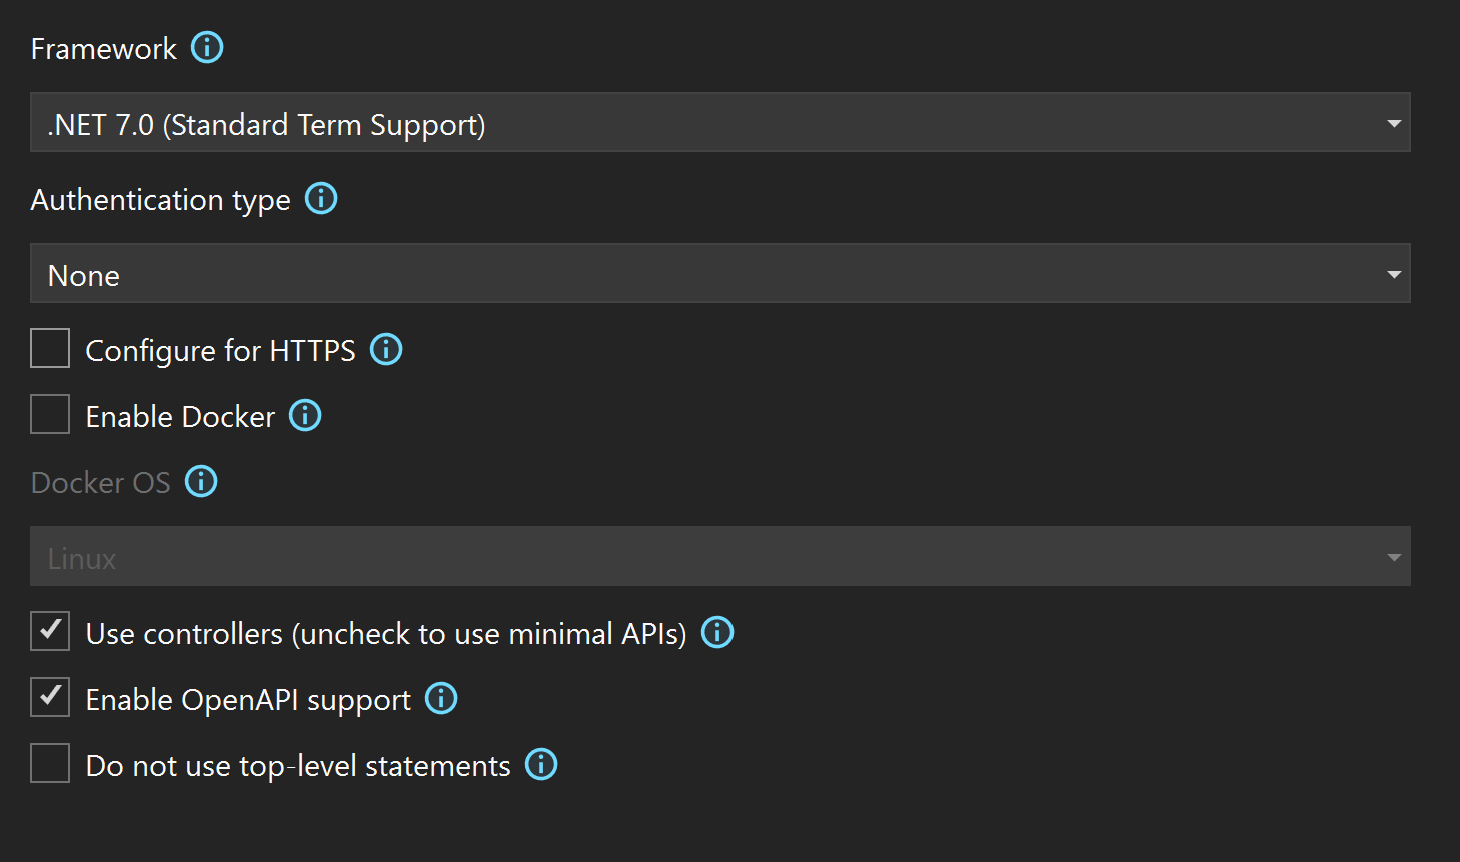
Configure for HTTPS would give the project the add secure authentication This would be for sensitive data
The new project is now created. Start debugging from the top (the play button with the text "http").

Configure for HTTPS would give the project the add secure authentication This would be for sensitive data
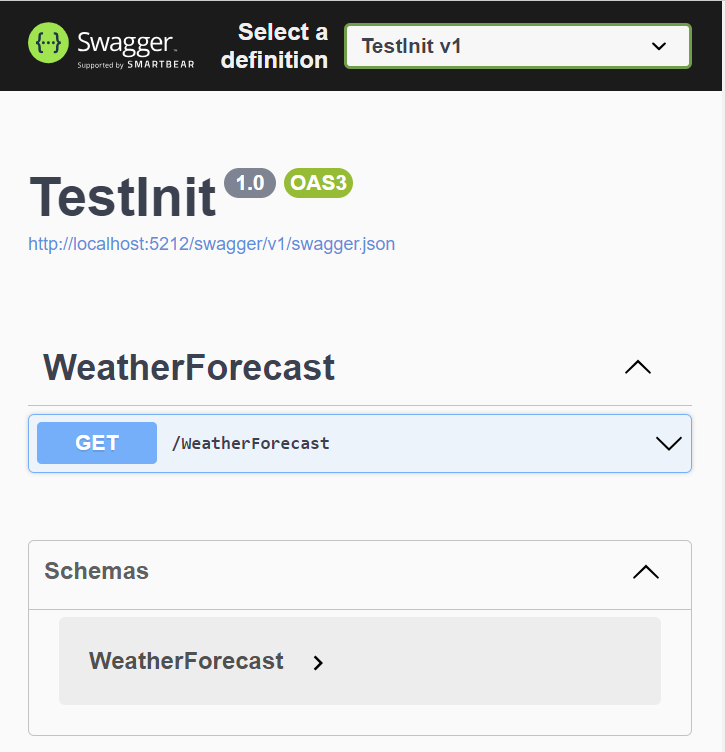
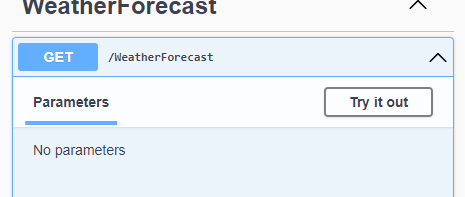
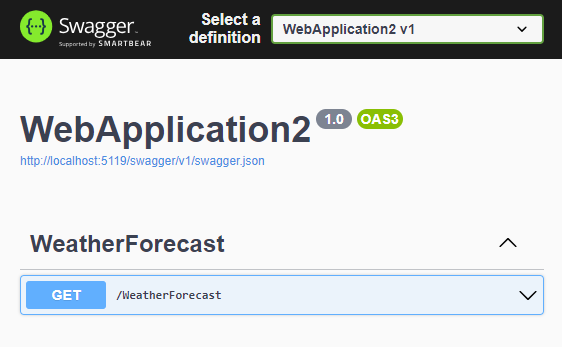
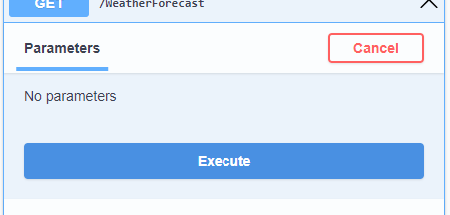
A web page should open, showing SwaggerUI for a weather forecast API. Click it open and select "Try it out". Execute the GET request and see what it returns.
Configure for HTTPS would give the project the add secure authentication This would be for sensitive data
Creating an ASP.NET Core Web Application
Close the window. Browse through the source files on Solution Explorer on the right and check where the weather forecasts come from.

Configure for HTTPS would give the project the add secure authentication This would be for sensitive data
ASP.NET Core Web API
In the previous exercise, we chose an API template for our new project, which have some files and dependencies already added
The weather forecasts come from "WeatherForecastController.cs" in the "Controllers" folder (more on Controllers later)
Throughout this course, the aim is to get an understanding of the underlying logic of ASP.NET Core
You can use the API template for the assignments, though
Program.cs
The Program.cs file in ASP.NET 7 is the file where the services for the web application are configured and middleware is defined
The file starts with defining the builder for the web application
var builder = WebApplication.CreateBuilder(args);
The program is actually a console application, which also hosts a web server
By default, ASP.NET applications use Kestrel and IIS as a server: https://learn.microsoft.com/en-us/aspnet/core/fundamentals/servers/kestrel?view=aspnetcore-7.0
Services
- The controllers and some other components (like Swagger) are added to the application as services
- Services are components that are available anywhere within your program via dependency injection (more on that later in the course )
- builder.Services.AddControllers();builder.Services.AddEndpointsApiExplorer();builder.Services.AddSwaggerGen();
- As the comment right above it suggests, more can be added as needed
This will make more sense after we start adding own services
Configuring Middleware
Handling of each HTTP request is defined as a set of middlewares
Middleware is software that's assembled into an app pipeline to handle requests and responses
They can decide whether to pass the request into the next middleware, or modify the data/request as needed.
if (app.Environment.IsDevelopment()){ app.UseSwagger(); app.UseSwaggerUI(); } app.UseAuthorization(); app.MapControllers(); app.Run();
Routing
__Routing __ is how web APIs match the requested URI to a corresponding action
The URI:s that can be used to get a response from the API are called the __endpoints __ of the API
| Request method | Endpoint | Action |
|---|---|---|
| __GET __ | http://someserver.com/api/products | _GetProducts() |
| __GET __ | http://someserver.com/api/products/3 | _GetProduct(int id) |
| __POST __ | http://someserver.com/api/products | _PostProduct() |
Attributes
Attributes are a way of attaching metadata with code (classes, methods, properties, etc.)
In ASP.NET, attributes have a strong role in routing :
[ApiController]
[Route("[controller]")]
public class WeatherForecastController : ControllerBase
{
//...
}
…
[HttpGet]
public IEnumerable Get()
{
//...
}
Attribute routing requirement, automatic HTTP 400 response, and more
HTTP GET requests are routed to this method
URIs starting with "/weatherforecast" are routed to this class
Attribute Routing
| Attribute | Request |
|---|---|
| Class: [Route("api")]Method: [HttpGet] | GET http://localhost:54106/api |
| Class: [Route("api")] __ __ Method: [HttpGet("products")] | GET http://localhost:54106/api/products |
| Class: [Route("api")] __ __ Method: [HttpGet("products/{id}")] | GET http://localhost:54106/api/products/12 |
| Class: [Route("api")] __ __ Method: [HttpPost("products")] | POST http://localhost:54106/api/products |
Exercise 2: Setting up Routes
Change the routes in WeatherForecastController.cs so that the forecast result is printed at
http://localhost:xxxxx/api/weatherforecast
instead of
http://localhost:xxxxx/weatherforecast
You can see the route change in the Swagger UI get method.
Handling HttpGet Requests
We have now established how to call methods with HTTP requests
Additional parameters can be passed to the method with the URI:
[Route("api")]
// class declaration
// …
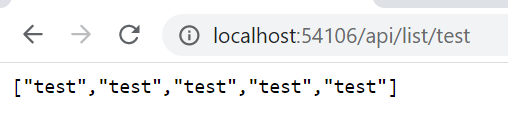
[HttpGet("list/{someText}")]
public string[] GetArrayOfStrings(string someText)
{
return Enumerable.Range(1, 5).Select(index => new string(someText))
.ToArray();
}
Handling HttpGet Requests (continued)
The URI parameters can be made optional with '?'
A default value must be then set for the method parameter:
[Route("api")]
// class declaration
// …
[HttpGet("list/{someText?}")]
public string[] GetArrayOfStrings(string someText = "default")
{
return Enumerable.Range(1, 5).Select(index => new string(someText))
.ToArray();
}

Apply constraints for the parameters by setting them after ':'
If the URI doesn't fit the constraints, the response will hold a 404 status code
[HttpGet("products/{id:int}")] // Required type: int
[HttpGet("list/{value:length(3,40)}")] // Required length: 3-40

Exercise 3: Returning Your Own List
Change the Get method so that instead of returning an IEnumerable of WeatherForecast objects, it returns a List of string objects. Fill the list with e.g. names and make it as long as you want. Test with browser (Swagger UI).
Create a new method, which is routed at http://localhost:xxxxx/api/numberlist/k, where k is any integer. The method should return an array of integers from 1 to k . For example: http://localhost:xxxxx/api/numberlist/5 would return [1,2,3,4,5]. Test with browser (Swagger UI).
Postman
HTTP POST requests cannot be made with the browsers location bar
In websites, POST requests are usually made with forms
In applications, all requests are sent by the client application
For testing APIs, multiple tools like __Postman __ exist
Before we cover handling POST, PUT and other requests in ASP.NET, let's first see how to make them with Postman

Postman (continued)
When developing APIs, Postman will almost always turn up in the development cycle
Postman lets you create configured HTTP requests to APIs
This is great for testing your APIs without having to write code just for that purpose
Supports all the necessary HTTP requests, like GET, POST and DELETE
Creating Requests with Postman
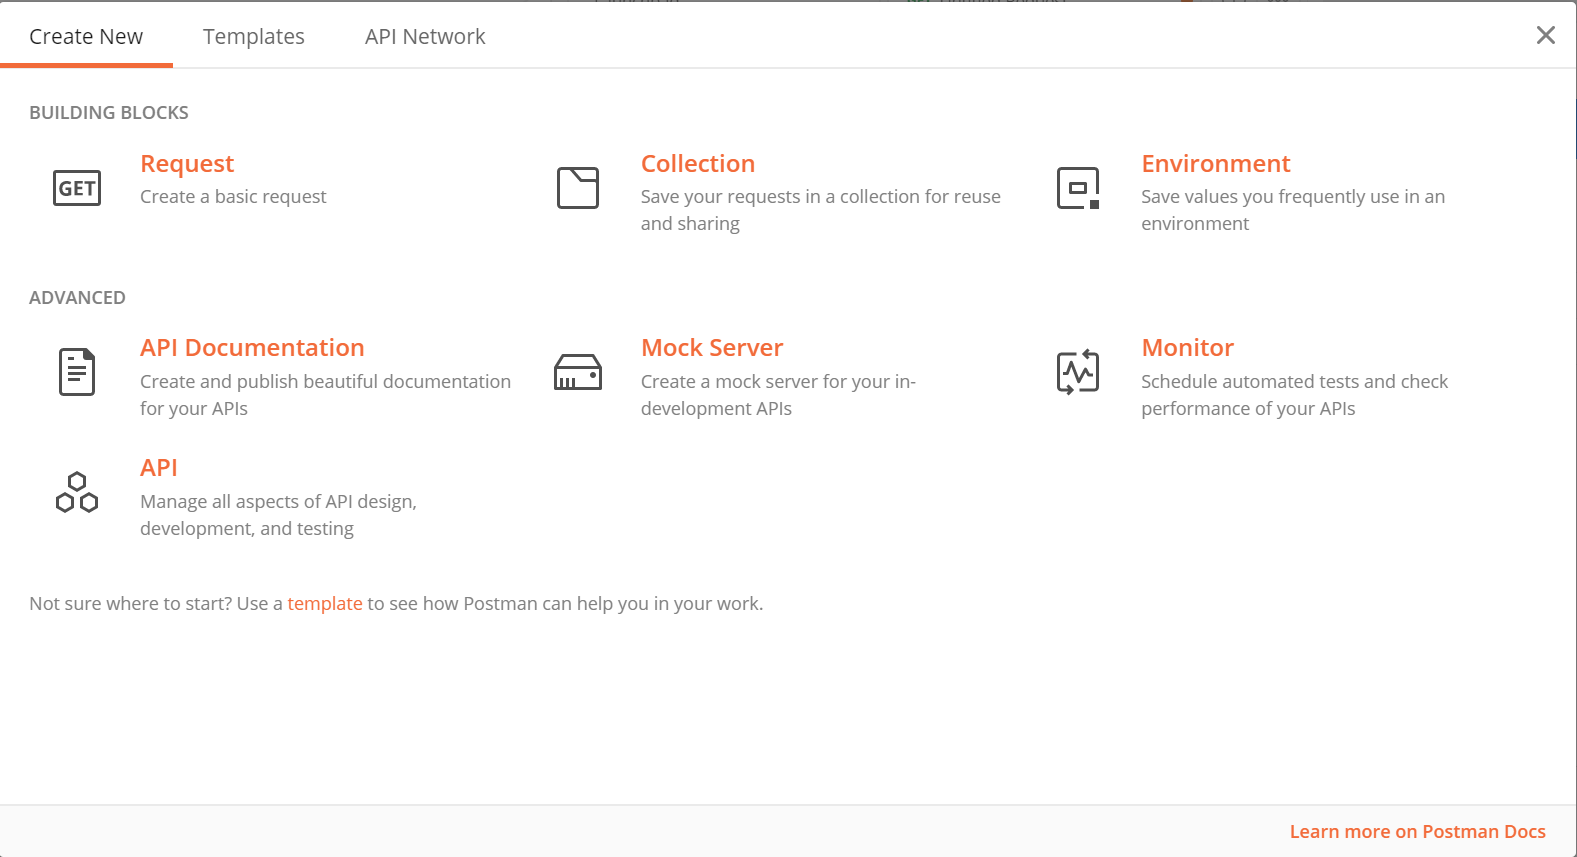
- To get started, open Postman
- You can sign in or skip the login
- Close the opened window to go straight to making requests
Creating Requests with Postman (continued)
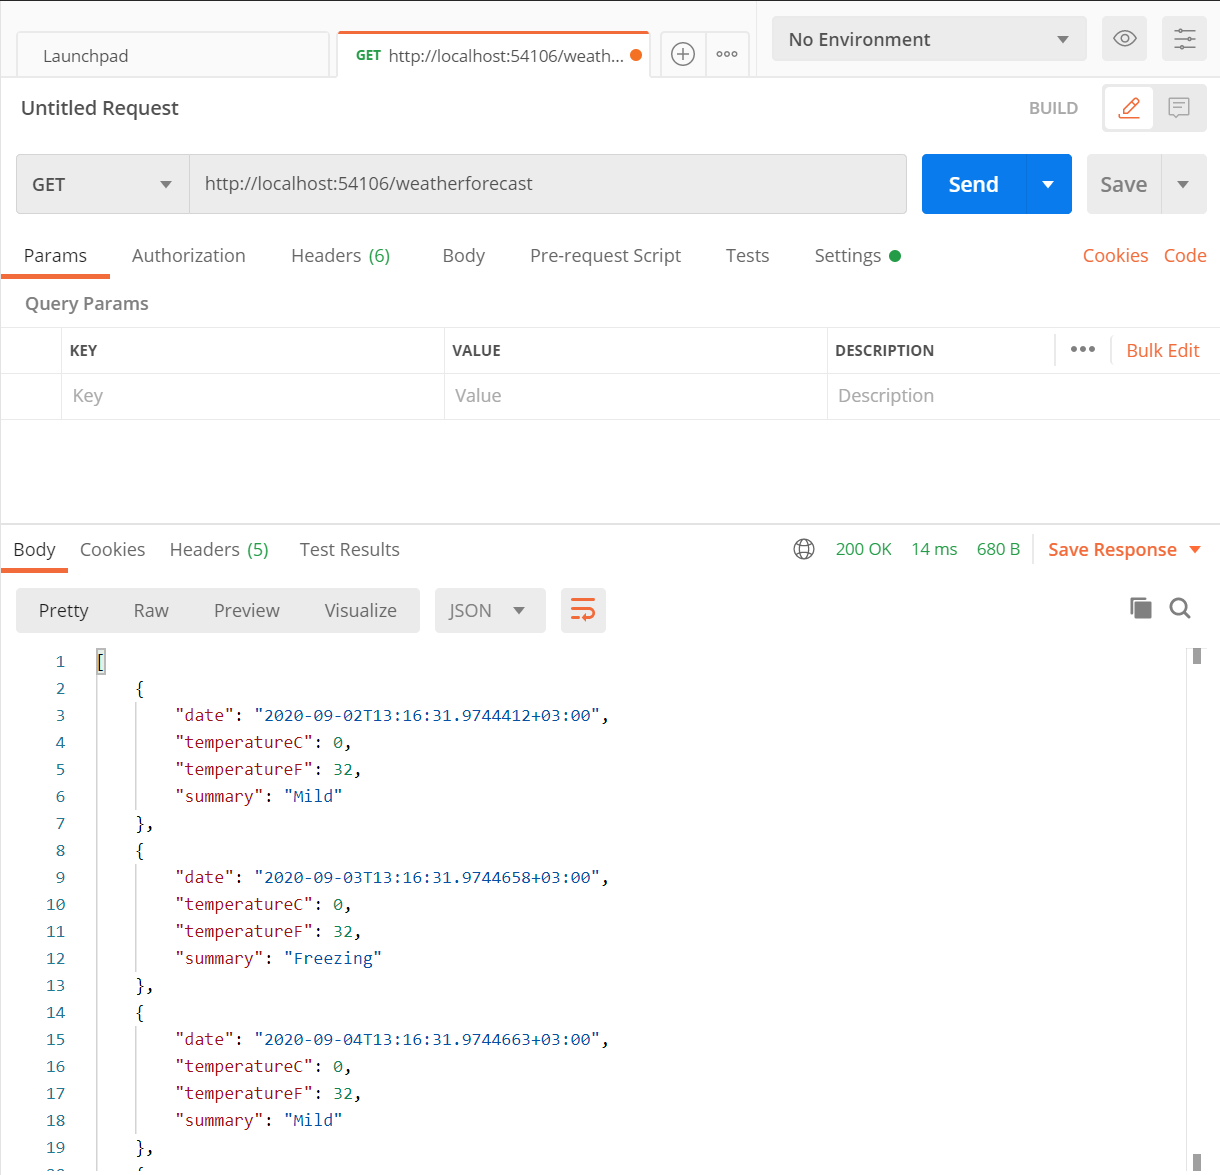
Create your request by selecting the method and entering the URL
The response with the content body and status code show up below
Exercise 4: Trying out Postman
Run the program you have worked on in the previous lecture assignments. Test both methods with Postman.