tags * It looks like this: *
Hello World
* The paragraph is a common html element and it is used to display text written between the opening and closing tags * _Headings_ are larger text elements and are used as titles *This is a title
* There are six different sized headers ranging from __ __ __h1 __ to __ __ __h6__ * __h1 is the largest, h6 the smallest__ * An _image element_ doesn't have any content inside * thus, it's a self closing tag: * * src ("source") is an _attribute_ , and its value tells where the shown image is located
* If you want to use a local image you can put it in the same folder as the __ __ _index.html_ _ _ and load it as src="my_image.png"
* Subfolders work, too: src="images/my_image.png"
* A link to other (remote or local) sites is added with the _link tag_
* Tag for a link is for anchor.
* The link will itself be as a href attribute standing for hypertext reference.
* Remote link:
* This links to Google!
* Local link:
* This links to test.html!
* _Divisors _ are containers we can hold our text and images in
* made using
* src ("source") is an _attribute_ , and its value tells where the shown image is located
* If you want to use a local image you can put it in the same folder as the __ __ _index.html_ _ _ and load it as src="my_image.png"
* Subfolders work, too: src="images/my_image.png"
* A link to other (remote or local) sites is added with the _link tag_
* Tag for a link is for anchor.
* The link will itself be as a href attribute standing for hypertext reference.
* Remote link:
* This links to Google!
* Local link:
* This links to test.html!
* _Divisors _ are containers we can hold our text and images in
* made using tags
* Let's put our h1, p and img elements in a div like this:
*
* tags like this:
<title> this is the title of the page

* You can force a new line with
* The tag can be placed within, for example, a paragraph (
*  *
*
*
* We don't need to _style_ it yet, it's done with CSS
---
https://images.unsplash.com/photo-1516750105099-4b8a83e217ee?ixlib=rb-1.2.1&ixid=MXwxMjA3fDB8MHxwaG90by1wYWdlfHx8fGVufDB8fHw%3D&auto=format&fit=crop&w=640&q=426
# Boilerplate
aka:
the stuff you have to write
before getting to
the stuff you want to write
© Buutti Oy, All Rights Reserved
The _title _ is what you usually see as the tab name
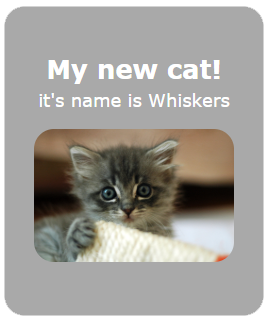
You can define the title of the page inside by using My new cat!
*it's name is Whiskers
*
* * The tag can be placed within, for example, a paragraph (
) to force a line change * Don't abuse, please * If you want to add space between elements, space them apart with CSS * Sometimes wrapping the elements into a
element helps
Spans are used to CSS style parts of a text for example, or other elements in one line
One could for example color single words in different colors or change fonts in the middle of text
Here is an example:
we could color a single word
# Chrome Dev Tools When doing any kind of Front End development it is __essential__ to use the development tools of the browser. With the developer tools you can inspect your HTML code, check out which styles come from which source, see possible errors from the console etc. 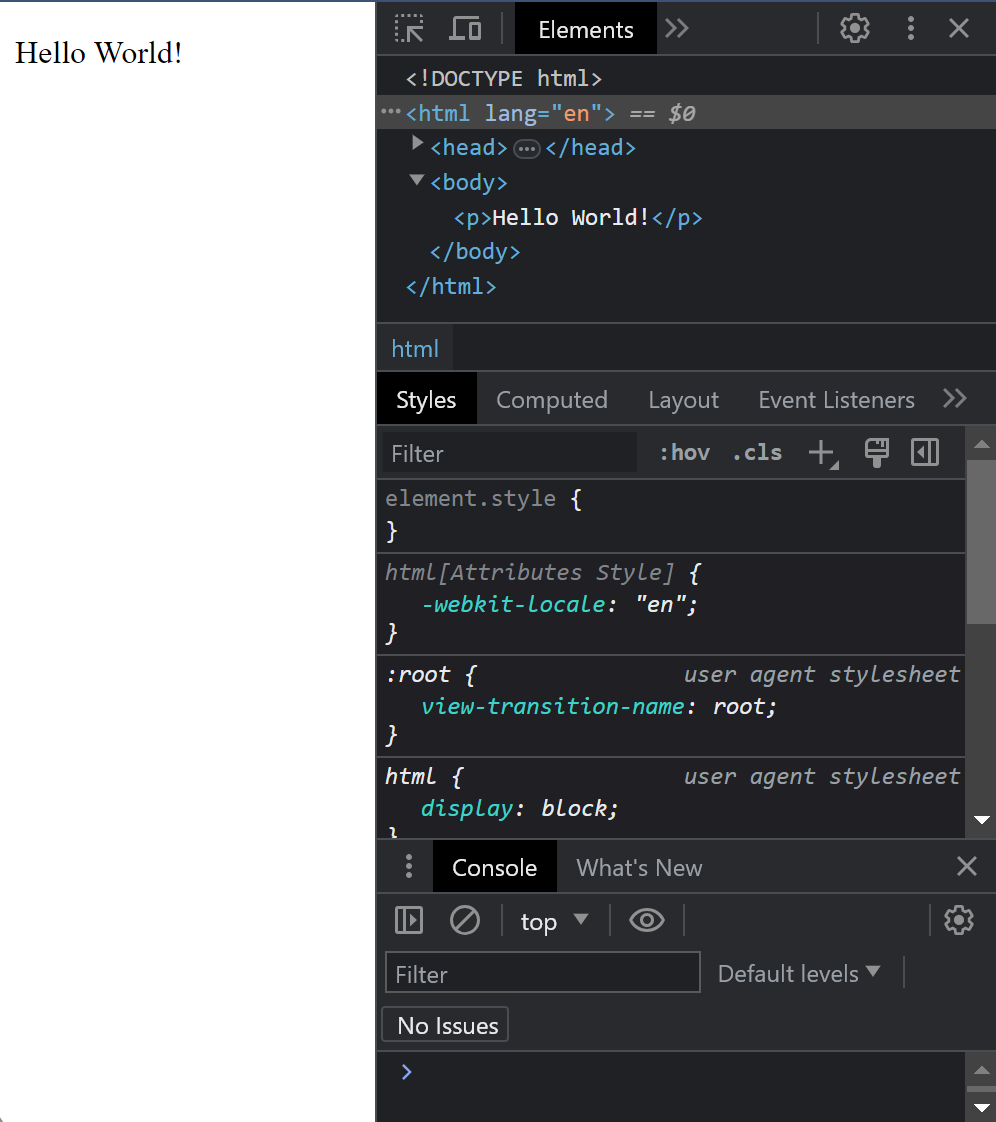 We recommend using the Google Chrome browser. Other browsers have their own developer tools as well but we focus on Chrome here. When we do dynamic content with JavaScript we absolutely must use the developer tools. When using JS to dynamically generate content we can never be sure if we got the HTML code we wanted, __unless we check it. __ In JS development we most likely will also get a lot of error messages and console.log messages. Those will pop up in the Developer Tools' console. Developer tools are super helpful even when doing static web pages. # Accessing Dev Tools in Chrome 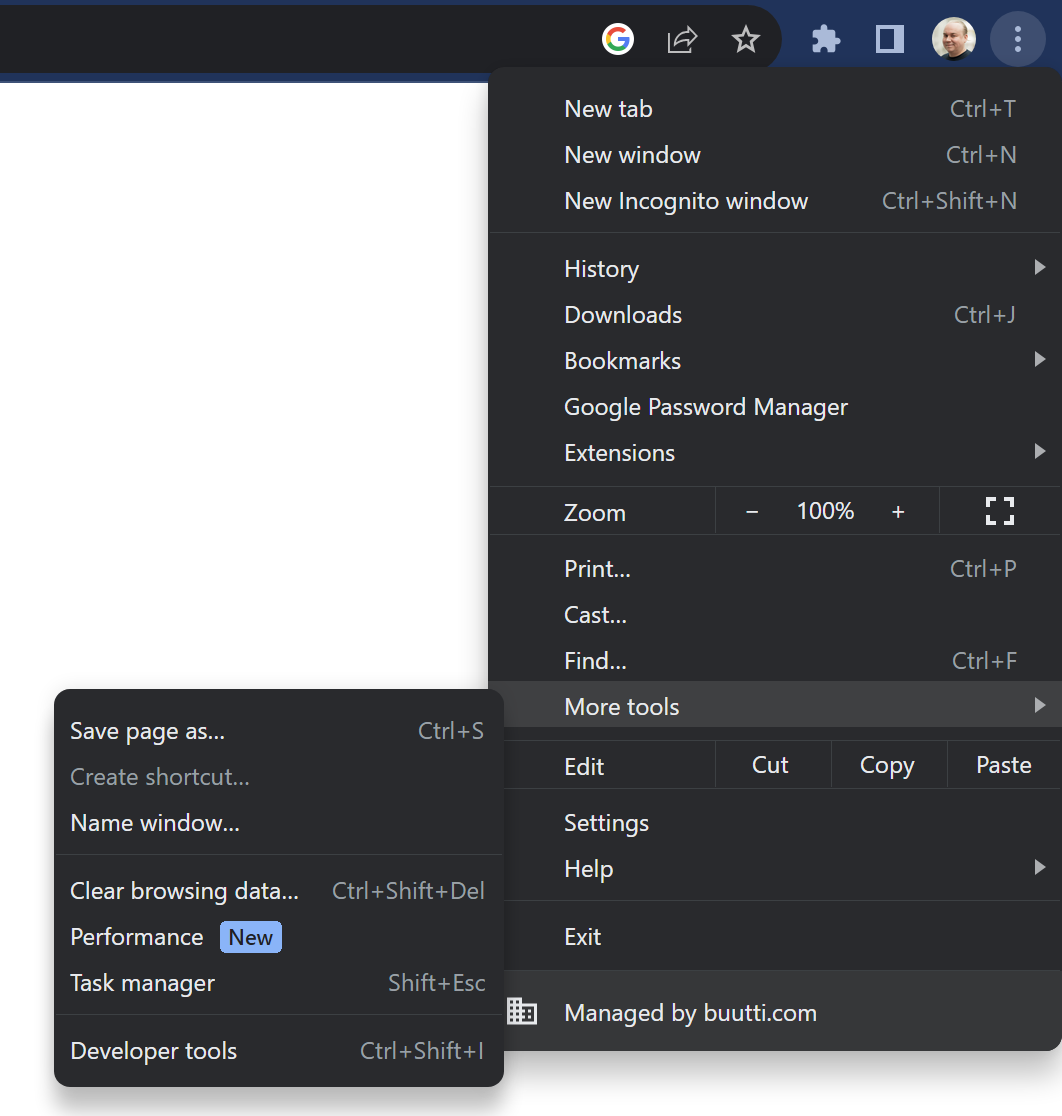 There are a few ways to access the dev tools. The easiest way is to just hit F12 Another hotkey is CTRL+SHIFT+I You can also open the tools from the chrome menu (three dots) -> More tools -> Developer tools You can also right click on any HTML element and select "Inspect". This method also scrolls the source code in the developer tools to said element, which is nice if we have an HTML file which is very long. 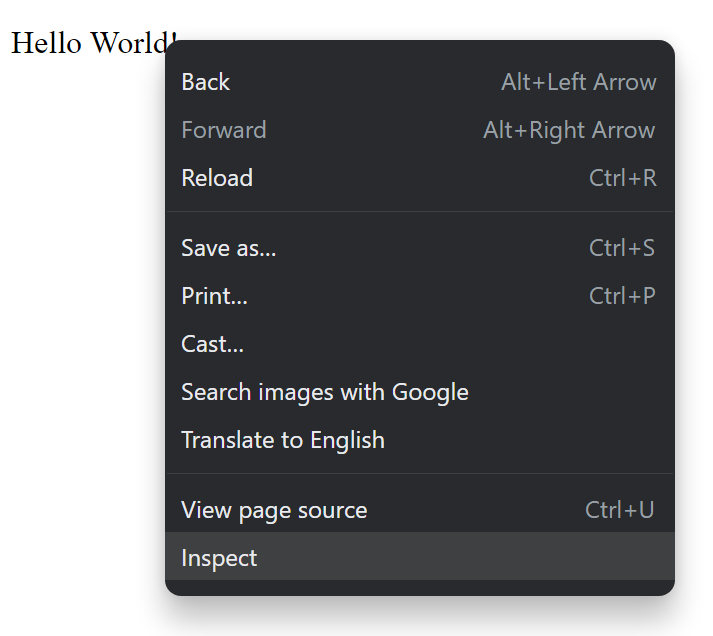  Elements can also be inspected with a cursor after clicking the arrow icon (see picture) in developer tools and hovering over the element of interest. This is extremely handy as the boundaries of elements are not always intuitive and this can make the aforementioned "right click + inspect" method tricky to use. 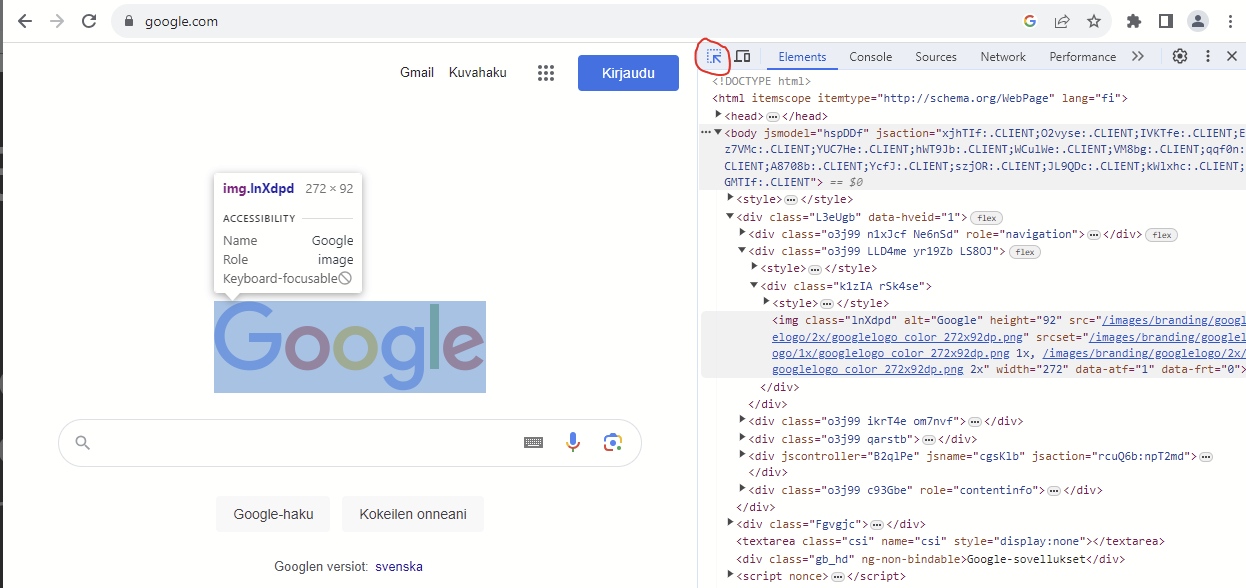 # Chrome Dev Tools 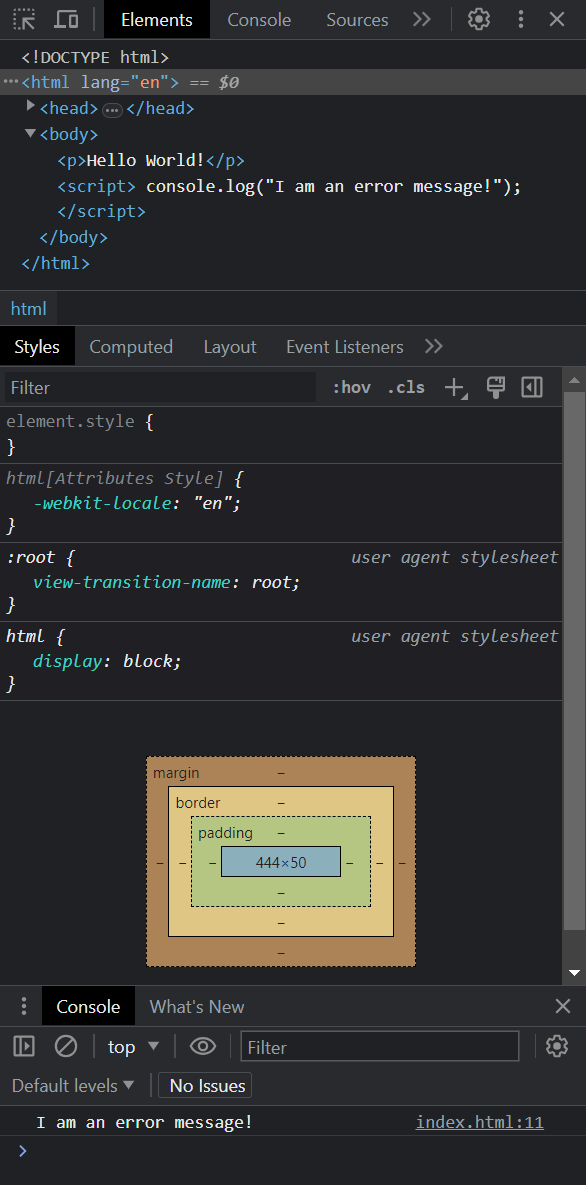 Basic features of the dev tools. There are others but these are enough for now. Source code Styles Console When you are developing and a web page or an application that runs on a browser and you want to check the result, it is a good practice to always: Check that the web page looks like you want it to look like Check that the source HTML code looks like you want it to look like You might have a page that looks all right but the code is not what you wanted. # User input There are all kinds of inputs Most common one is text input Inputs have a type and a name. The name is what the field will be called when the data is sent to a server. This is how this input looks: 